
One thing that has always been a constant bother to me was my vanity. A couple years ago I purchased the alex/linmon desk from IKEA in white. That was like a staple and at the time, I thought it would be enough storage for a vanity. However, I was really wrong because my makeup collection grew exponentially since then. over the years, the table started to show signs of wear and tear from my obsessive wiping down. Now because I wiped it down so much, the table started to chip and you could see the wood underneath- which was not cute at all and it make the table look dirty even though it was clean. I ran out of storage, my small mirror for my makeup was getting worn and looked nasty and the bucket I used to hold my brushes was disgusting. Overall, the entire look of my vanity was just not cute.
I was originally planning on just sucking it up and buying a new vanity/desk. But itself would not fix the issue I was having. My entire vanity needed a makeover and I did not want to spend a lot of $$$ getting a new desk which I will no longer need in a couple of years. So I did a little DIY that cost me less than $50 and it gave my desk a bit of a face lift! I bought most of the products from Amazon and I am pretty satisfied with how it all turned out! I will tag everything I used below if anyone is interested in purchasing the items I used.
Before
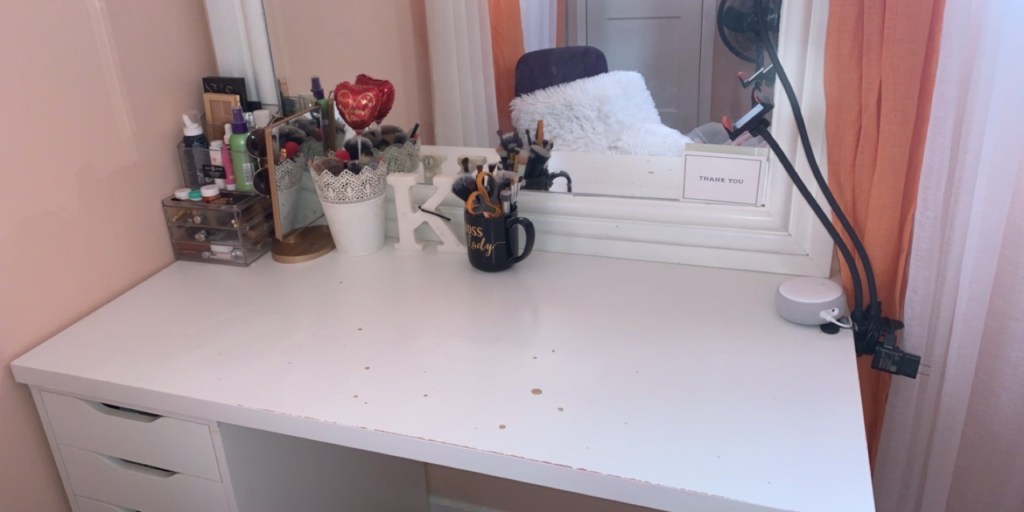
this was my desk before I started the DIY. You can see the visible signs of the wear which were mostly where my chair was and where I did my makeup. I had a small acrylic display that held some of my everyday products and bigger palettes alone with my some of my smaller stuff like mascaras, eyeliner, and lipsticks. But it is clear that it was a bit overflowed. Then there is the hand held mirror which actually does not match at all with the rest of my vanity and a random K marble stand that I picked up from TJMAXX; Another mug filled with more brushes, my Amazon echo dot, and a mini clip on ring light- you can see my vanity actually did not have any particular direction or theme.
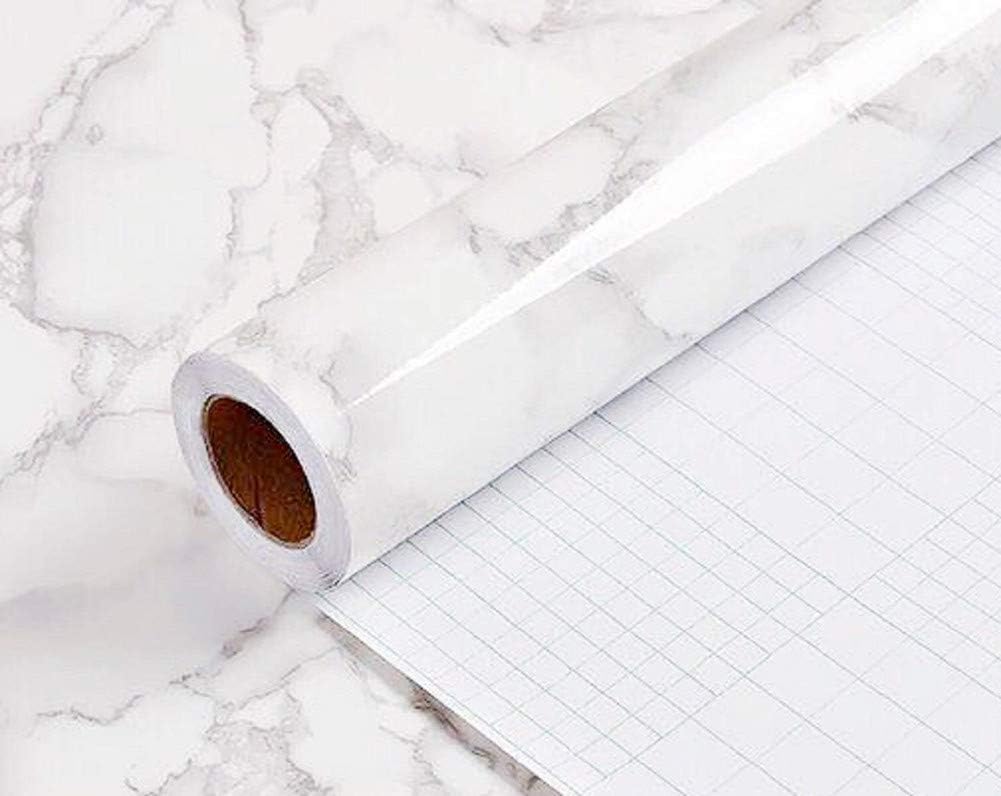
here was my quick fix secret : Marble contact paper. I bought this roll of marble contact paper from Amazon for about $10. I first cleared my entire desk and wiped it down – made sure it was all dry. I then started on putting the marble contact paper down, All you have to do is measure, peel and stick it to the top of your desk! My younger brother helped me put it down, we were kind of in a hurry so we messed up a bit but honestly it is fine- I just left it. Also make sure you you really measure correctly because I had put the wrong paper side down in a sparse area and it is pretty noticeable that I did not line it up correctly.
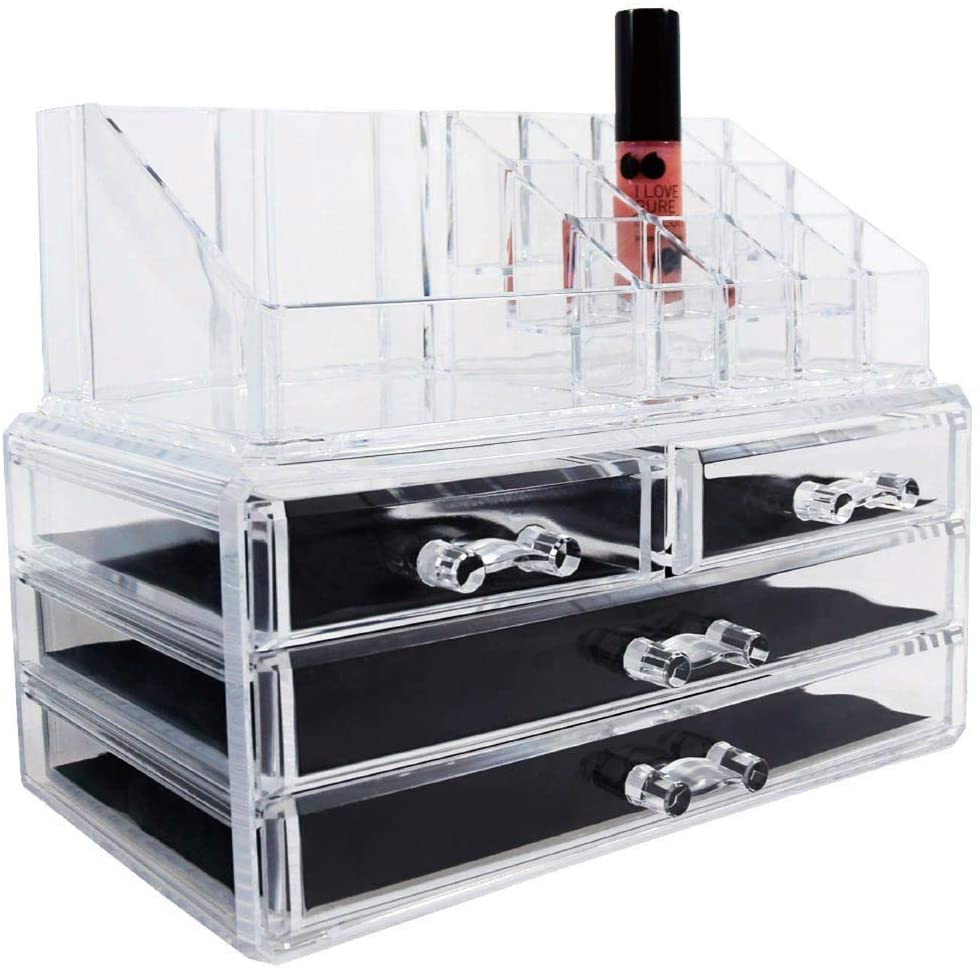
After putting the marble paper down, it instantly made the table look so much better and the room just looked a bit more put together. I also got a new acrylic organizer that was a bit bigger and had a bit more storage. Now this was a bit expensive, I had gotten it from Ulta when it was on sale for $13. I do not recommend getting it from Ulta because shipping takes for forever and since the sale is done, this same organizer costs about $26. I was able to find a cheaper alternative on Amazon. This organizer is really good. I was able to store so much more than I could with my old organizer and my display just looks so much nicer. This is actually the same organizer that I bought from Ulta for about $14. I seriously recommend these acrylic organizers because they add a bit more to your display while still keeping everything organized.
My brush holder was actually a planter from IKEA I got for $5. At the time I only had a couple of brushes so it was alright to use. However, after a while it just started to look super dirty and unkept even after washing it a million times. I purchased this makeup brush organizer from amazon for $6-7. One thing I would say is that it was much smaller than I expected but I managed to fit most of my brushes in there and also in some of my smaller ones in the other organizer. I am now able to see all the brushes much easier and just pick up the one I need instead of pulling out 4 brushes to check which one I want. Having three slots in the actual holder was pretty convenient I tried to break it up from eye brushes, face brushes, and brushes for cream and foundation.

The last piece of my vanity was my mirror. Now, the mirror I had before was actually from TJMAXX that I found. Although at first it was super convenient and handy, but it is simply too bulky, hard to store, and it just did not match. I was able to find this super cute acrylic mirror that kind of went along with the whole acrylic theme I have going on and it just fit perfectly on my vanity. It is double sided and has a magnified side which I can use to maybe do my eye make up or brows if I really needed to. This was about $7-10- a bit pricey but I think it was a great addition to add to go along with my vanity.
After
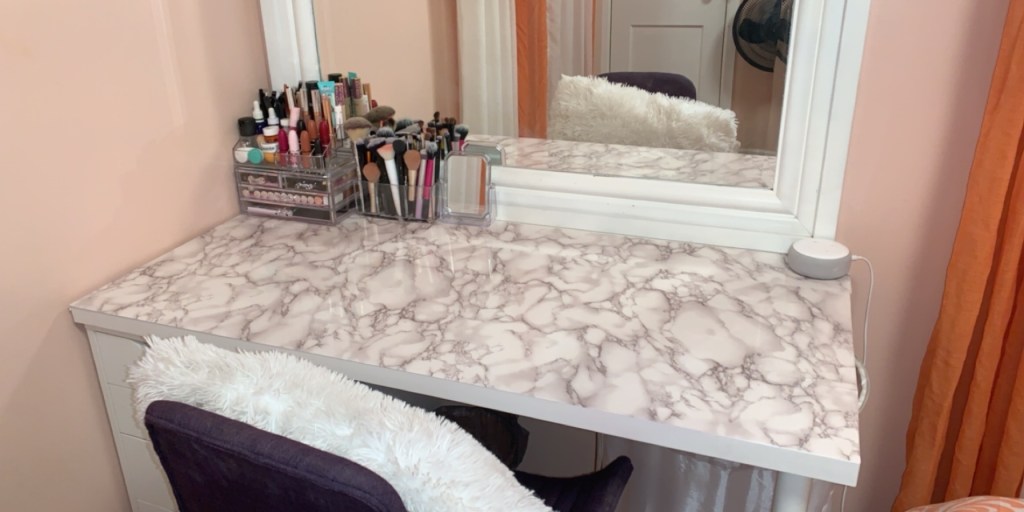
Here is the final result of my vanity! As you can see it is looking less cluttered, dark and gloomy. It just looks much brighter and cleaner than before. I actually like how this DIY turned out and might do more if these in the future. Again, this was super easy to do. Between cleaning my room, organizing my vanity and putting down the contact paper, I would say it took me about 1.5 hours to do it all. Overall, I do think it was worth it and it all cost me less than $40. My vanity looks pretty new, if you are looking to spice up your vanity without buying brand new furniture, DIYs are the way to go!
Products mentioned:
Marble contact paper : https://amzn.to/3el3WWx
Acrylic Makeup Organizer : https://amzn.to/2znES2B
Makeup Brush holder: https://amzn.to/2M1I5aB
Acrylic small mirror: https://amzn.to/36xPgAJ
